Welcome
Showing posts with label girl. Show all posts
Thursday, May 26, 2016
Thursday, April 21, 2016
Challenge # 117-120
Saturday, April 9, 2016
Tuesday, February 23, 2016
59-62 challenge layouts
ppbndesigns.com used two files. Love this Anna.
Thursday, February 11, 2016
Challenge # 51-54
I am doing four of each of the Disney ones because I have a bunch of grandkids and this way if I need them they are already to go in a book. File is from ppbndesigns.com.
Saturday, February 6, 2016
Challenge 42-46
Both of these files are from ppbndesigns.com I did one of the top one and 4 of the ballerina one. A lot of little girls to put together.
Thursday, February 4, 2016
Friday, January 22, 2016
Challenge #20-26
I did this one 6 times for a swap I am in. The file is from treasureboxdesigns.com Catching Memories.
Sunday, May 24, 2015
Playtime
Love how easy this layout went together. I don't have any little ones anymore but had to make this one because it was so cute. I made it boyish but with a change of colors it could be for a girl also. Playtime was one of the April files so it can be purchased this month with the basic membership.
Sunday, May 3, 2015
Blowing Bubbbles
I used Glossy Accents an the bubbles for this layout. The background paper is from Paper Adventures called Bubble Wash. I choose to not use any of the borders on this layout and placed the photo mats crooked. Can't wait until I can take pictures of the kids blowing bubbles for this layout. File can be found ppbndesigns.com
Labels:
Blowing Bubbles,
boy,
bubbles,
girl,
kids,
ppbndesigns,
summer
Thursday, April 30, 2015
Pool Party
ppbndesigns.com is where to find the file in May, it is one of the membership files for April. I added some glitter to the title and some bling to the girl. Such a sweet layout for those summer pictures of your kids and grandkid.
Thursday, April 23, 2015
Little Baker
I used a recipe card as one of the photo mats. This will be so cute with my grand daughters pictures on it.
Wednesday, April 8, 2015
Raggedy Ann and Andy
Rag Doll file from TreasureBox Designs. Needs some more just haven't decided what.
Saturday, March 28, 2015
Snow White
Thursday, March 26, 2015
Best Friends
Best Friends will be released in April unless you are a 2-page svg kit member and then it is free this month. I used the paper for my borders on this one and just cut the flowers, title and photo frames. I think I an going to add some butterflies but haven't decided yet. Paper is Hippie Chic from DCWV.
Wednesday, January 14, 2015
Ppbn introduced a New CLub
Snow Day
![]() |
| Sorry nothing is glued down but I want to show everyone the new layout Nikki made for the Svg 2 page Scrapbook Club. This file is Snow Day. What a wonderful way to catch up on your scrapbooking. You get the svgs for a 2 page layout a day for $20.00 a month. Well I am off to do the new one for today. |
Monday, October 20, 2014
Finger Puppets with bendy card.
Design ID #53879
1/13/2014
Print Then Cut with the DE software for the Silhouette Cameo. I have updated to 3.0.343
1. Choose design, I choose the png but you can also color and put back together the svg file. For this I am going to talk about a png file.2. add the Registration marks. 4th button at top from the right. Looks like sheet of paper with registration marks. Under style button choose your machine.
3. Now to get cut lines go to 6 button from right. Open trace window. The one with a butterfly.
Select trace area and make a box around image. Now time to play with the different settings. I turned off High Pass and moved the Threshold to 100%. The balloons on my image didn't completely yellow out but I am just tracing the outside edge so it worked for me. Trace outer edge.
4. If you are wanting a white border just use the offset and remember to take away the other cut line.
5. Choose print setting for you printer and print. Button looks like printer.
6. Put paper on mat and I add a extra light in front of my machine. Cut.
Add the Registration marks and make sure your image is inside the marks.This is with High pass on and I might have gotten away with this since I only need the outline but I choose to unclick that and use the Threshold to 100%.
Just showing the cut line, move image back into place to print and then cut or if you like the white border use the offset but remember to remove the first cut line either by moving it out of the way or changing it to no cut.
Labels:
Bendy Card,
birthday,
card,
Disney Princess,
girl,
PPBN,
Princess
Monday, October 13, 2014
Halloween Page
Ok, I love pink, purple and lime green so that is what I used on this page. Decided Halloween didn't need to be orange and black. The file I used is from PPbN Designs Halloween scrapbook page kit. This makes it so easy to complete a page in a short time. Hope you have a wonderful week and enjoyed this weeks project. Today is my 35th wedding anniversary, I am lucky to be married to my best friend. Love you hubby! Going to spend the day with him.
Monday, July 21, 2014
You're A Hoot PPbN Designs file
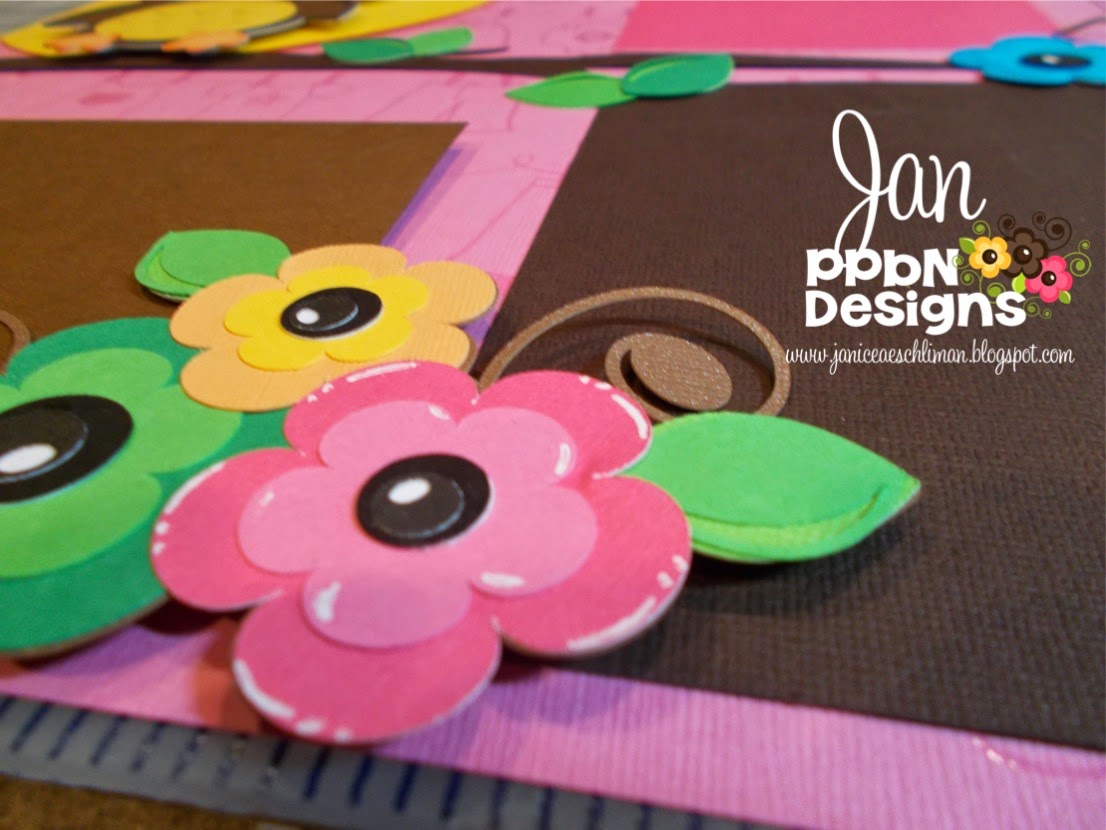
Hello everyone! I decided to show you how I plan a layout and sometimes decide to change things. I always take a picture before I glue down my pieces to see if I like how I have things laid out.
I decided I needed a moon behind the owl so I went into my Silhouette Design Studio and I just made a circle and pulled it off the page a little bit and cut.
I put pop dots behind the owl and some of the flowers to give added dimension to my page.
I added some accents to my words and some of the flowers to make them pop a little.
You can find the file You're a Hoot here
Materials used:
You're a Hoot file
2 base papers
2 pinks
3 browns
2 yellow/orange
1 turquoise
3 greens
Scotch tape runner
Scotch Quick-Dry Adhesive
pop dots
White Signo pen
|
Monday, July 7, 2014
The Doc Is In form PPbN Designs
Good morning this is my Monday post for ppbndesigns.com. The file can be found here. The white flower border can be found in the Silhouette Store. I had to size and weld the border but all the rest of the pieces are cut at the size they appeared on the mat. This layout worked great for my grand daughter's visit to the doctor.
I used my Silhouette
2 sheets pink gingham paper
1 pink striped
1 reverse of the first gingham paper
1 sheet white paper
2 different purple
2 different pink
1 tan
1 turquoise
1 light brown
1 darker brown
Scotch glue
Scotch tape runner
1 ready made tag with reg and pink twine.
|
Subscribe to:
Posts (Atom)


.jpg)