These are from PPBN Designs at svgcuttabledesigns.com
I tried my hand at this type of layout, not a fan.
Welcome
Showing posts with label boy. Show all posts
Tuesday, April 5, 2016
Friday, January 22, 2016
Challenge #20-26
I did this one 6 times for a swap I am in. The file is from treasureboxdesigns.com Catching Memories.
Sunday, May 24, 2015
Playtime
Love how easy this layout went together. I don't have any little ones anymore but had to make this one because it was so cute. I made it boyish but with a change of colors it could be for a girl also. Playtime was one of the April files so it can be purchased this month with the basic membership.
Sunday, May 3, 2015
Blowing Bubbbles
I used Glossy Accents an the bubbles for this layout. The background paper is from Paper Adventures called Bubble Wash. I choose to not use any of the borders on this layout and placed the photo mats crooked. Can't wait until I can take pictures of the kids blowing bubbles for this layout. File can be found ppbndesigns.com
Labels:
Blowing Bubbles,
boy,
bubbles,
girl,
kids,
ppbndesigns,
summer
Thursday, April 30, 2015
Pool Party
ppbndesigns.com is where to find the file in May, it is one of the membership files for April. I added some glitter to the title and some bling to the girl. Such a sweet layout for those summer pictures of your kids and grandkid.
Sunday, March 29, 2015
Outlook Good pool table
Had to do this one for my son, I am thinking these pieces would make a great card also. I will have to try this later. File used is from the 2-page svg kit membership. Pool Table Outlook Good file.
Thursday, March 26, 2015
The Few. The Proud.
Love how this came out. Had trouble finding so many greens but I made do.The Few The Proud is one of the 2 page svg kits with membership, but will be available in April to be purchased separately.
My son is in the Army so I am sure I will find some pictures to go with this.
Labels:
Army,
boy,
dog tags,
jeep,
lay out,
ppbndesigns,
The Few The Proud
Monday, March 23, 2015
Brace Face
PPbN Designs Brace Face is one of the 2-page SVG Kit Club but will be available to everyone next month. I didn't put the borders on this one but still deciding on that one. I used vinyl for the braces because it was shiny. I used some glitter on the toothpaste. This went together so fast I might have time for another layout today.
Monday, March 16, 2015
Peas in a Pod
Peas in a Pod
My son and Grandson look so much alike that we sometimes have to look at the back of a picture to decide which is which. Nathan now wears glasses to that helps. I used some paper I had around wanted it to look older not a baby layout.
File used:
Peas in a Pod 2 page layout kit.
Wednesday, March 4, 2015
Handy Boy Set Card
Tool Belt Card
Using a file I found in the Silhouette store for a card and adding my own images from ppbn designs I created a cute card. Still deciding if it is going to be a birthday card or a Father's Day card. These tools are just too cute. I made sure when I glued the pockets on the card that I left the top open to insert my pieces.
List of files used:
SVG Attic JGW Blooming Card Kit or Silhouette on line go to Snapdragon Snippets Design ID#46209 7/29/2013 or type in Garden Apron.
Handy Boy Set from ppbndesigns.com
![]() |
| This is the one from the Silhouette store |
![]() |
| ppbndesigns Handy Boy Set |
![]() |
| $5.99 |
Monday, July 28, 2014
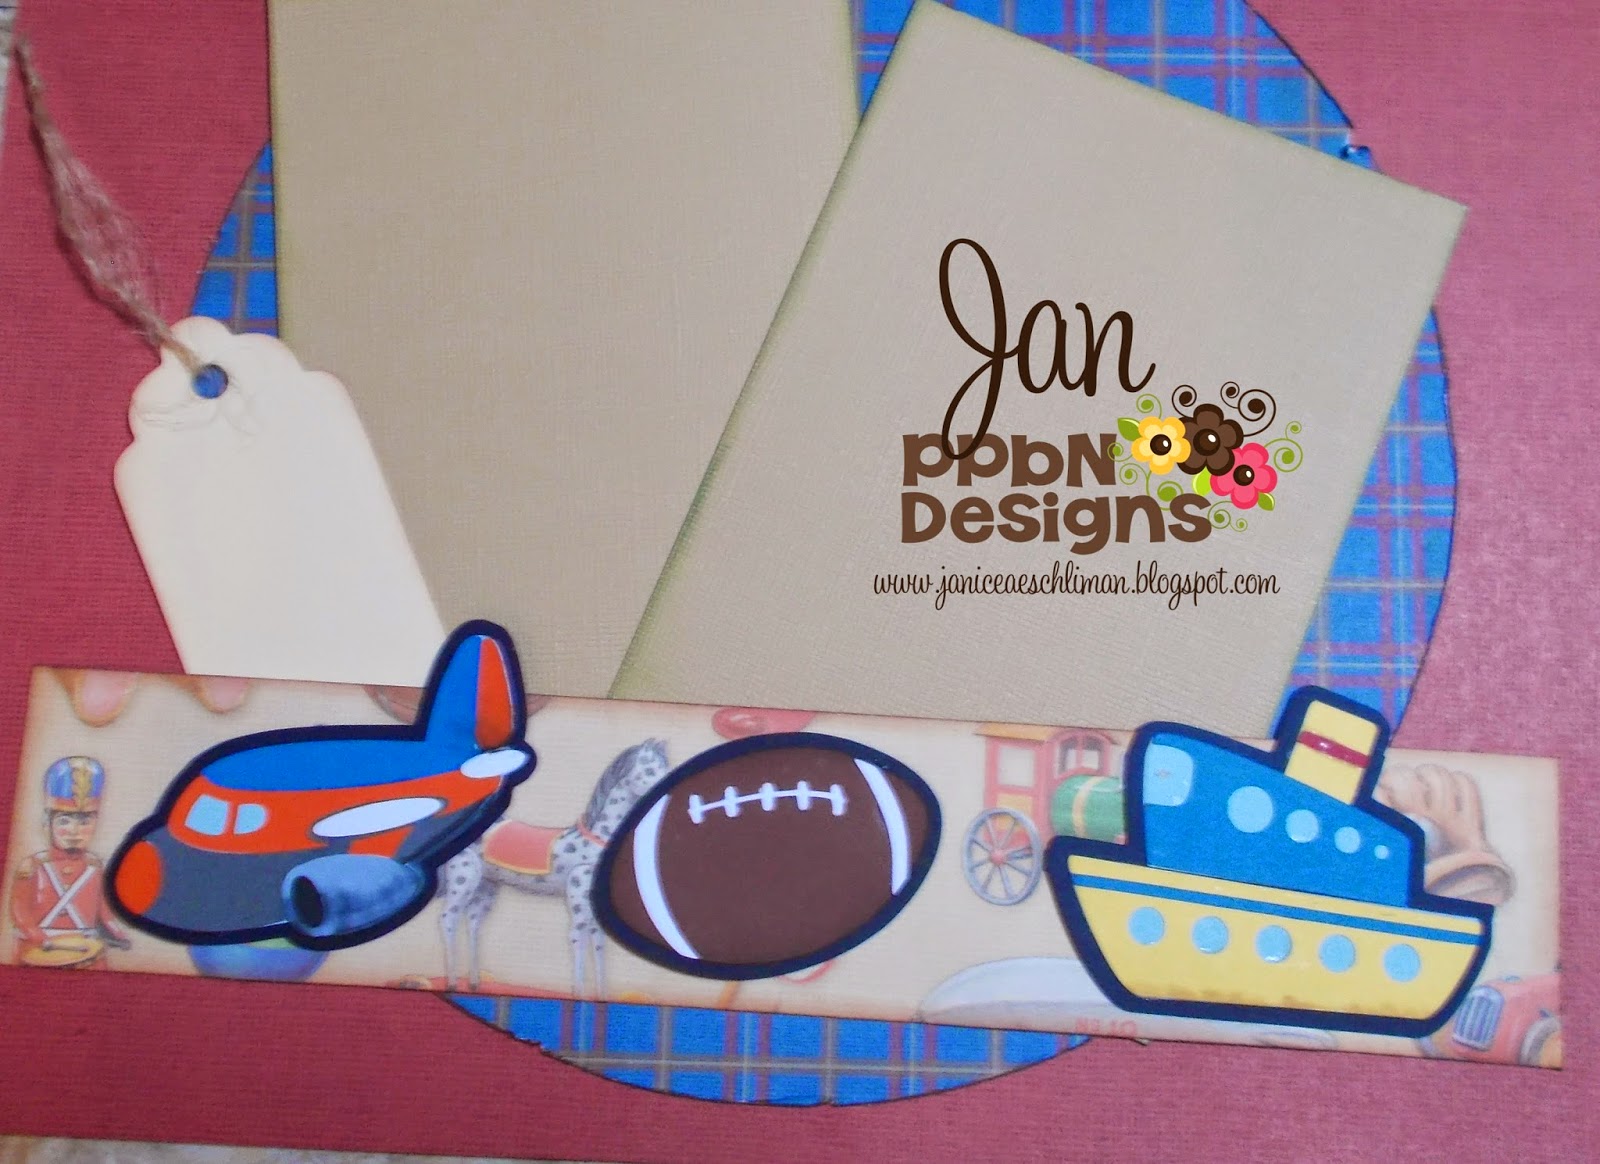
Boys and Their Toys file from PPbN
This layout will be perfect for my grandson. I will be visiting him some this summer so I can get the perfect shots to go with this. I used paper from K & Company, chalk inks from Quick Quotes, Scotch Quick Dry Adhesive and the files from PPbN Designs. The file was Boys and their Toys but I just used the title and the toys. I did make a black layer because my toys were not showing up on my border. I did this by putting the pieces of the file together on the DE mat and then I did a .100 offset. Hope you enjoy my layout and your day. Thank you for visiting my blog. Below is the link for the PPbN Memberhip where Nikki is giving away a new ipad to one of the members.
|
Monday, July 21, 2014
You're A Hoot PPbN Designs file
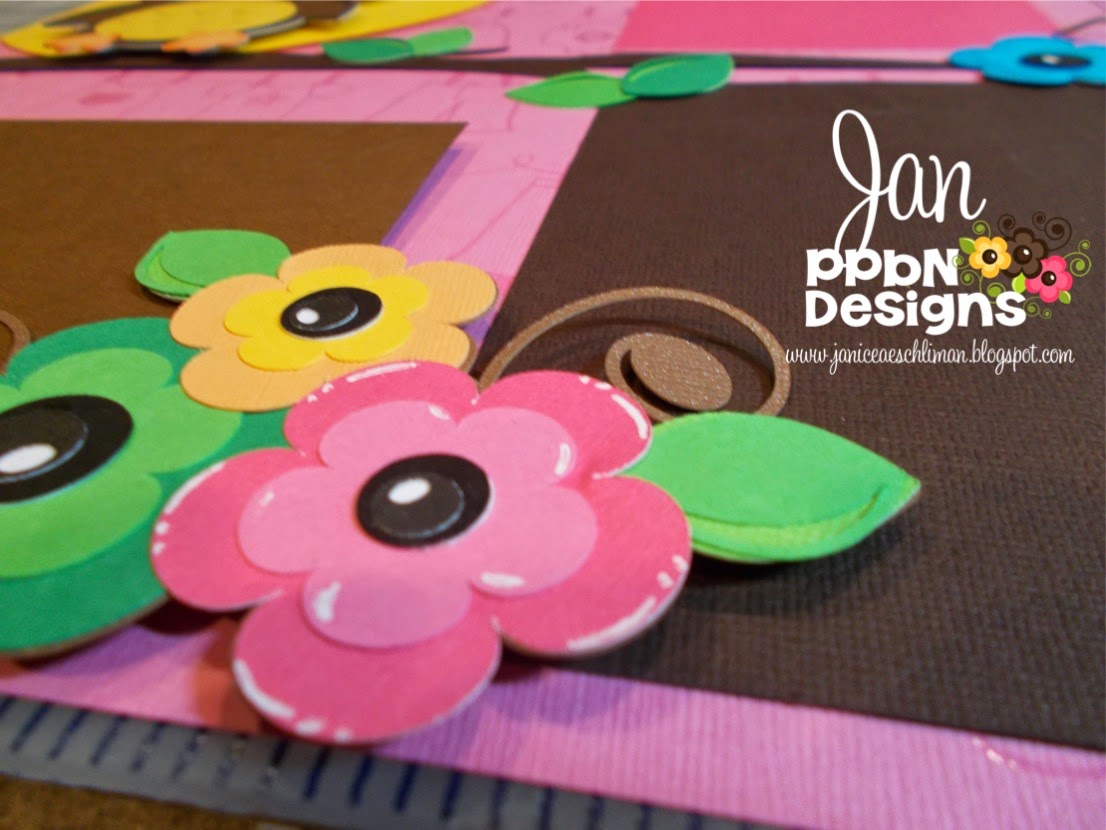
Hello everyone! I decided to show you how I plan a layout and sometimes decide to change things. I always take a picture before I glue down my pieces to see if I like how I have things laid out.
I decided I needed a moon behind the owl so I went into my Silhouette Design Studio and I just made a circle and pulled it off the page a little bit and cut.
I put pop dots behind the owl and some of the flowers to give added dimension to my page.
I added some accents to my words and some of the flowers to make them pop a little.
You can find the file You're a Hoot here
Materials used:
You're a Hoot file
2 base papers
2 pinks
3 browns
2 yellow/orange
1 turquoise
3 greens
Scotch tape runner
Scotch Quick-Dry Adhesive
pop dots
White Signo pen
|
Monday, May 19, 2014
Monster Layout a PPbN Designs file
Good morning everyone Janice here with the PPbN Designs blog post for this Monday. I just love this file. All the monsters are so cute and be used individually or as I did on a two page layout.
I embossed the clouds to give them a little texture. You can find the file on PPbNdesigns.com or here. I think page is ready for some of my grand-monsters pictures hope you enjoy.
Sunday, May 4, 2014
Prom layout
I used the From This Moment file from PPbN Designs found here. I just choose the pieces I wanted and removed the rest. I duplicated the flowers two times, then separated the pieces by color and sent them to the Cameo. The Prom title I made in Silhouette Design Edition software by typing PROM selecting the font I wanted and then making two off sets for it. I added the pearls from the bride and put pearl studs in the center of the flowers. The mat in the back it just a doily shape I bought from the Sil. online store.
A quick pretty layout for that special prom picture. Colors can be changed to go with the picture.
Monday, April 21, 2014
Happy Easter to Everyone.
Hoppy Easter Everyone!
Hope everyone had a wonderful Easter. We had a great day with my daughter singing in church and a nice meal afterwards. This layout was cut from the Hoppy Easter file http://www.ppbndesigns.com/hoppy-easter-single-12x12-page-kit/. I just love this file and have used it several times this Easter season. The pieces can be used in several different ways. I decided to put the chocolate bunny in the basket for this layout.Materials used:
Silhouette Cameo
Hoppy Easter PPbN file
Green and plaid Paper Pizazz paper for background from my stash.
Pink in two shades, green in two shades, brown in two shades, blue in two shades, purple in two shades and yellow in two shades of plain cardstock.
glue Scotch quick dry
Scotch tape runner
Thursday, April 17, 2014
Eggstra Special from PPbN Designs
Then just pull tight.
The back side of the chick. the extra glue is fine since I had to glue the whole piece to the white base.
Add the egg shell and the ears and he is finished.
I glued down the eggs first because I wanted the writing to be the top layer. I glued Egg-Stra on next so Special was on top.
Subscribe to:
Posts (Atom)


.jpg)